
- Sản phẩm & Dịch vụSản phẩm & Dịch vụ
- Giải phápGiải pháp
- Bảng giáBảng giá
- Công tyCông ty
- Tài liệuTài liệu

vi
vi
Chuyên mục với các bài viết hướng dẫn, nghiên cứu và phân tích chi tiết về kỹ thuật, các xu hướng công nghệ mới nhất dành cho lập trình viên.

Technical Writer

I have over 5 years of experience writing technical documentation for tech products, making them accessible and user-friendly. My focus is always on providing clear and precise information. @#@ Tôi đã có hơn 5 năm kinh nghiệm viết tài liệu kỹ thuật cho các sản phẩm công nghệ, giúp người dùng dễ dàng tiếp cận và sử dụng. Tôi luôn tập trung vào việc cung cấp thông tin chính xác và dễ hiểu.
Thảo luận (0)
Đăng nhập để thảo luận
Hôm nay chúng ta sẽ tìm hiểu cách sử dụng Json Server để tạo REST API nhanh chóng. Trong một ứng dụng doanh nghiệp thông thường, bạn làm việc với nhiều nhóm và các API của bên thứ ba.

Hãy tưởng tượng bạn phải gọi một restful web service của bên thứ ba để lấy dữ liệu JSON. Bạn đang trong một lịch trình gấp rút nên không thể chờ họ hoàn thành công việc rồi mới bắt đầu công việc của mình. Nếu bạn muốn có một mockup Rest Web service để lấy dữ liệu demo, thì json-server chính là công cụ bạn đang tìm kiếm.
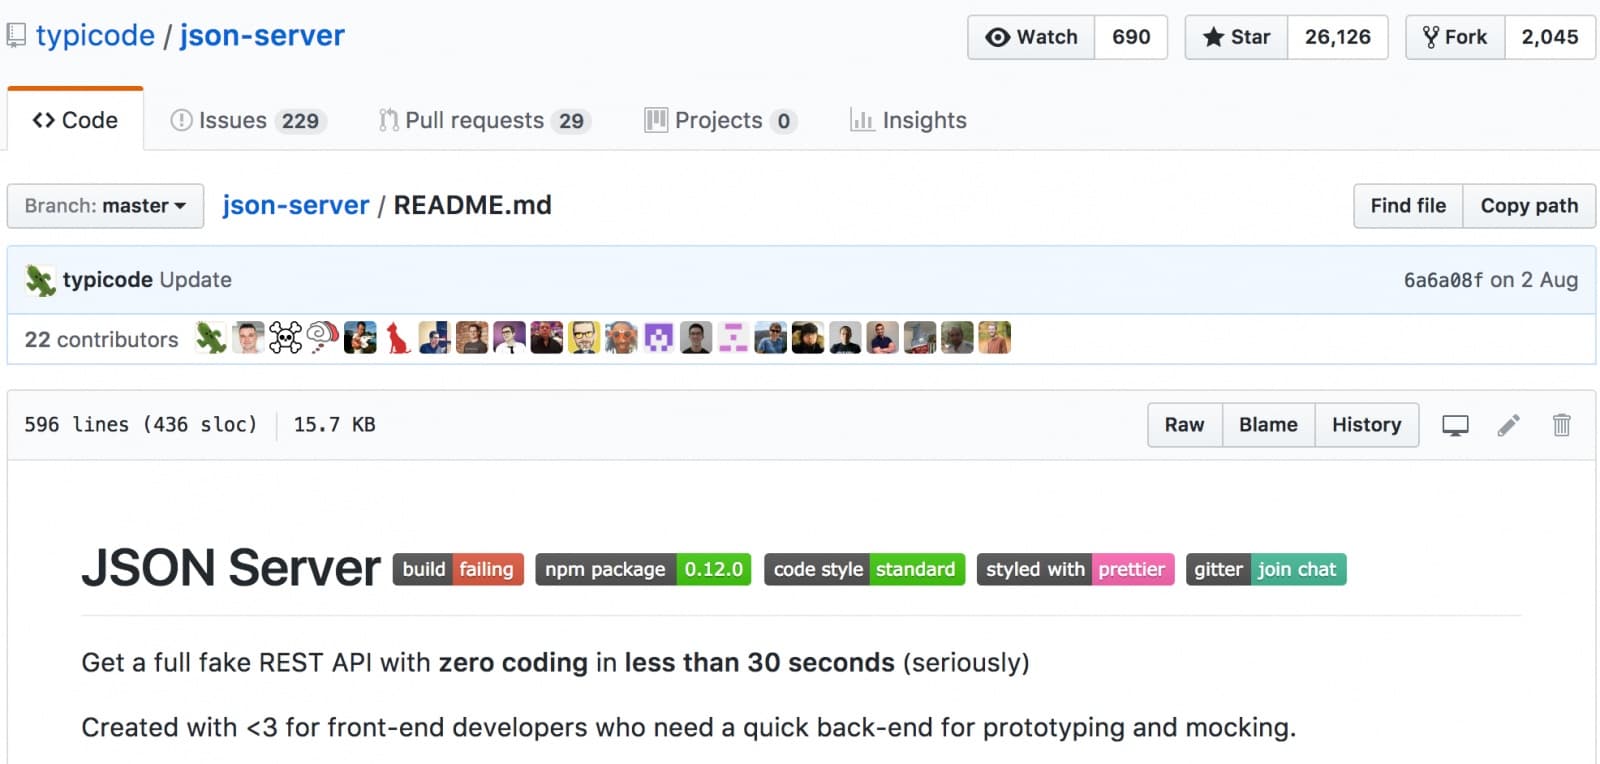
JSON Server là một Node Module mà bạn có thể sử dụng để tạo một demo rest json webservice trong chưa đầy một phút. Tất cả những gì bạn cần là một tệp JSON cho dữ liệu mẫu.
Bạn nên cài đặt NPM trên máy của mình. Nếu chưa, hãy tham khảo bài viết này để cài đặt NPM. Dưới đây là lệnh một dòng để cài đặt JSON server cùng với kết quả trên máy của tôi.
$ npm install -g json-server
npm WARN deprecated graceful-fs@3.0.8: graceful-fs v3.0.0 and before will fail on node releases >= v7.0. Please update to graceful-fs@^4.0.0 as soon as possible. Use 'npm ls graceful-fs' to find it in the tree.
/usr/local/bin/json-server -> /usr/local/lib/node_modules/json-server/bin/index.js
- bytes@2.3.0 node_modules/json-server/node_modules/raw-body/node_modules/bytes
/usr/local/lib
└─┬ json-server@0.8.10
  ├─┬ body-parser@1.15.1
  │ └── bytes@2.3.0
  ├─┬ compression@1.6.1
  │ └── bytes@2.2.0
  ├─┬ lowdb@0.10.3
  │ └─┬ steno@0.4.4
  │   └── graceful-fs@4.1.4
  ├─┬ update-notifier@0.5.0
  │ └─┬ configstore@1.4.0
  │   ├── graceful-fs@4.1.4
  │   └─┬ write-file-atomic@1.1.4
  │     └── graceful-fs@4.1.4
  └─┬ yargs@4.7.0
    ├─┬ pkg-conf@1.1.2
    │ └─┬ load-json-file@1.1.0
    │   └── graceful-fs@4.1.4
    └─┬ read-pkg-up@1.0.1
      └─┬ read-pkg@1.1.0
        └─┬ path-type@1.1.0
          └── graceful-fs@4.1.4
$
$ json-server -v 0.8.10$ json-server -help /usr/local/bin/json-server [options] <source>
Options: --config, -c Path to config file [default: "json-server.json"] --port, -p Set port [default: 3000] --host, -H Set host [default: "0.0.0.0"] --watch, -w Watch file(s) [boolean] --routes, -r Path to routes file --static, -s Set static files directory --read-only, --ro Allow only GET requests [boolean] --no-cors, --nc Disable Cross-Origin Resource Sharing [boolean] --no-gzip, --ng Disable GZIP Content-Encoding [boolean] --snapshots, -S Set snapshots directory [default: "."] --delay, -d Add delay to responses (ms) --id, -i Set database id property (e.g. _id) [default: "id"] --quiet, -q Suppress log messages from output [boolean]
$
Bây giờ là lúc để khởi động json-server của chúng ta. Dưới đây là một tệp mẫu với dữ liệu json về nhân viên.
{
  "employees": [
    {
      "id": 1,
      "name": "Pankaj",
      "salary": "10000"
    },
    {
      "name": "David",
      "salary": "5000",
      "id": 2
    }
  ]
}
Điều quan trọng ở đây là tên của mảng, tức là employees. JSON server sẽ tạo các REST APIs dựa trên tên này. Hãy khởi động json-server với tệp trên.
$ json-server --watch db.json\{^_^}/ hi!
Loading db.json Done
Resources <https://localhost:3000/employees>
Home <https://localhost:3000>
Type s + enter at any time to create a snapshot of the database Watching...
Đừng đóng cửa sổ terminal này, nếu không nó sẽ kết thúc hoạt động của json-server. Dưới đây là các yêu cầu CRUD và phản hồi mẫu.
$ curl -X GET -H "Content-Type: application/json"  "<https://localhost:3000/employees>"
[
  {
    "id": 1,
    "name": "Pankaj",
    "salary": "10000"
  },
  {
    "name": "David",
    "salary": "5000",
    "id": 2
  }
]
$
$ curl -X GET -H "Content-Type: application/json"  "<https://localhost:3000/employees/1>"
{
  "id": 1,
  "name": "Pankaj",
  "salary": "10000"
}
$
$ curl -X POST -H "Content-Type: application/json" -d '{"name": "Lisa","salary": "2000"}' "<https://localhost:3000/employees>"
{
  "name": "Lisa",
  "salary": 2000,
  "id": 3
}
$
$ curl -XPUT -H "Content-Type: application/json" -d '{"name": "Lisa", "salary": "8000"}' "<https://localhost:3000/employees/3>"
{
  "name": "Lisa",
  "salary": 8000,
  "id": 3
}
$
$ curl -X DELETE -H "Content-Type: application/json"  "<https://localhost:3000/employees/2>"
{}
$ curl -GET -H "Content-Type: application/json"  "<https://localhost:3000/employees>"
[
  {
    "id": 1,
    "name": "Pankaj",
    "salary": "10000"
  },
  {
    "name": "Lisa",
    "salary": 8000,
    "id": 3
  }
]
$
Như bạn có thể thấy, chỉ với một tệp JSON đơn giản, json-server đã tạo các demo APIs để chúng ta sử dụng. Lưu ý rằng tất cả các yêu cầu PUT, POST, DELETE đều được lưu vào tệp db.json. Bây giờ, các URI cho GET và DELETE là giống nhau, tương tự như các yêu cầu POST và PUT. Chà, chúng ta cũng có thể tạo các URI tùy chỉnh với một tệp ánh xạ đơn giản.
Tạo một tệp với các custom routes để json-server của chúng ta sử dụng. routes.json
{
  "/employees/list": "/employees",
  "/employees/get/:id": "/employees/:id",
  "/employees/create": "/employees",
  "/employees/update/:id": "/employees/:id",
  "/employees/delete/:id": "/employees/:id"
}
Chúng ta cũng có thể thay đổi cổng của json-server và mô phỏng như một API của bên thứ ba, chỉ cần thay đổi base URL khi dịch vụ thực sự đã sẵn sàng và bạn sẽ có thể sử dụng nó. Bây giờ, hãy khởi động lại JSON server như hình dưới đây.
$ json-server --port 7000 --routes routes.json --watch db.json (node:60899) fs: re-evaluating native module sources is not supported. If you are using the graceful-fs module, please update it to a more recent version.\{^_^}/ hi!
Loading db.json Loading routes.json Done
Resources <https://localhost:7000/employees>
Other routes /employees/list -> /employees /employees/get/:id -> /employees/:id /employees/create -> /employees /employees/update/:id -> /employees/:id /employees/delete/:id -> /employees/:id
Home <https://localhost:7000>
Type s + enter at any time to create a snapshot of the database Watching...
Nó đang hiển thị các custom routes do chúng ta xác định.
Dưới đây là ví dụ về một số lệnh và kết quả của chúng với các custom routes.
$ curl -X GET -H "Content-Type: application/json"  "<https://localhost:7000/employees/list>"
[
  {
    "id": 1,
    "name": "Pankaj",
    "salary": "10000"
  },
  {
    "name": "Lisa",
    "salary": 8000,
    "id": 3
  }
]
$ curl -X GET -H "Content-Type: application/json"  "<https://localhost:7000/employees/get/1>"
{
"id": 1,
"name": "Pankaj",
"salary": "10000"
}
$ curl -X POST -H "Content-Type: application/json" -d '{"name": "Lisa","salary": "2000"}' "<https://localhost:7000/employees/create>"
{
"name": "Lisa",
"salary": 2000,
"id": 4
}
$ curl -XPUT -H "Content-Type: application/json" -d '{"name": "Lisa", "salary": "8000"}' "<https://localhost:7000/emloyees/update/4>"
{
"name": "Lisa",
"salary": 8000,
"id": 4
}
$ curl -XDELETE -H "Content-Type: application/json"  "<https://localhost:7000/employees/delete/4>"
{}
$ curl -GET -H "Content-Type: application/json"  "<https://localhost:7000/employees/list>"
[
{
"id": 1,
"name": "Pankaj",
"salary": "10000"
},
{
"name": "Lisa",
"salary": 8000,
"id": 3
}
]
$
JSON server cung cấp một số tùy chọn hữu ích khác như sorting (sắp xếp), searching (tìm kiếm) và pagination (phân trang). Đó là tất cả về json-server, đây là công cụ tôi luôn sử dụng mỗi khi cần tạo demo Rest JSON APIs.
Reference: json-server GitHub